Showing posts with label hair. Show all posts

Monday, 26 January 2015

Review of COLAB Dry Shampoo

Ruth Crilly from 'A Model Recommends' launched her set of COLAB dry shampoo's each named after iconic cities with a scent that describes them without any words spoken I felt it was somewhat just me getting the 'London' one and it's my favourite scent. The fragrance of deep musk with a slight floral scent underlaying had me sold I wanted my hair to smell this good along with the sleek packaging that would make for a great handbag essential for on the go hair emergencies. This dry shampoo claims a sheer invisible formula which interested my as all other dry shampoos I have tried have left a white or grey residue in my hair and I have found myself just not finding one that works well enough for me to continue using.


I had left my hair for two days without washing and decided to try this out to see if it could pass the test and parted my hair at the roots and sprayed 20cm away from my hair then rubbed it in with my fingers.


After leaving my hair for about 5 hours I can safely say that my hair feels clean, lightweight there was no residue left and the product added volume to my hair along with a wonderful scent that matches my perfume I think I may have found my perfect dry shampoo!

Saturday, 2 August 2014

From Brunette to Blonde Over Summer - Loreal Casting Sunkiss Jelly Review


I saw the Loreal Casting Sunkiss Jelly advertised on TV and it was just what I was wanting 'sun kissed hair for summer' so I picked up a bottled in Boots at Newcastle a few weeks ago retailed at £5.99 in shade 02 as it was for mousy brown hair. Described as a 'gradual lightening natural sun kissed effect satin soft hair' well that's a mouthful but it describes the product exactly after trying many home box dyes and them turning out horribly wrong this is the only one to actually work and make my hair softer.

In the photos above you can see in the first image my natural hair and the image on the left is what my hair turned out after using one bottle as I have shorter hair I got a couple more uses out of the bottle. I apply this when I've washed my hair and towel dried it using the gloves to protect my hands and tipping my head upside down I massage some of the jelly onto the back of my hair then I massage it from the roots to the ends of the hair. The next time I use it I will use the jelly about a third down from my roots all the way to the ends this will give more dimension and highlights to my hair giving it that 'sun kissed' look you leave this jelly in don't wash it out. 

Although the serum can feel strange for the first couple of minutes when you apply it that will disappear after that duration as it sinks and disappears into your hair I then spray some heat protection spray on my hair and dry it with a hairdryer (this will speed up the lightening process) and curl it as normal. I've been using this every time I wash my hair and found it gradually lightened it and made my hair feel so much more softer I have even bought another two bottles so that I can go blonder I would definitely recommend this product it you want to lighten your hair on a budget!


Thursday, 3 July 2014

Easy Festival Hair Style


If you're heading to a festival this year or just want a pretty up-do I've created this simple hairstyle that I'll be wearing at T in the Park it takes less than 5 minutes to create and lasts all day. Getting your hair away from your face and hiding unwashed, slightly greasy hair and still making it look cute may seem like a bit of a challenge when you're wanting to go enjoy the festival but this style is done in no time and will have serious hair envy from onlookers. 
What you'll need for this style is hair grips and a headband if you want you can not put a hair accessory in if you want to keep it simple and sweet.


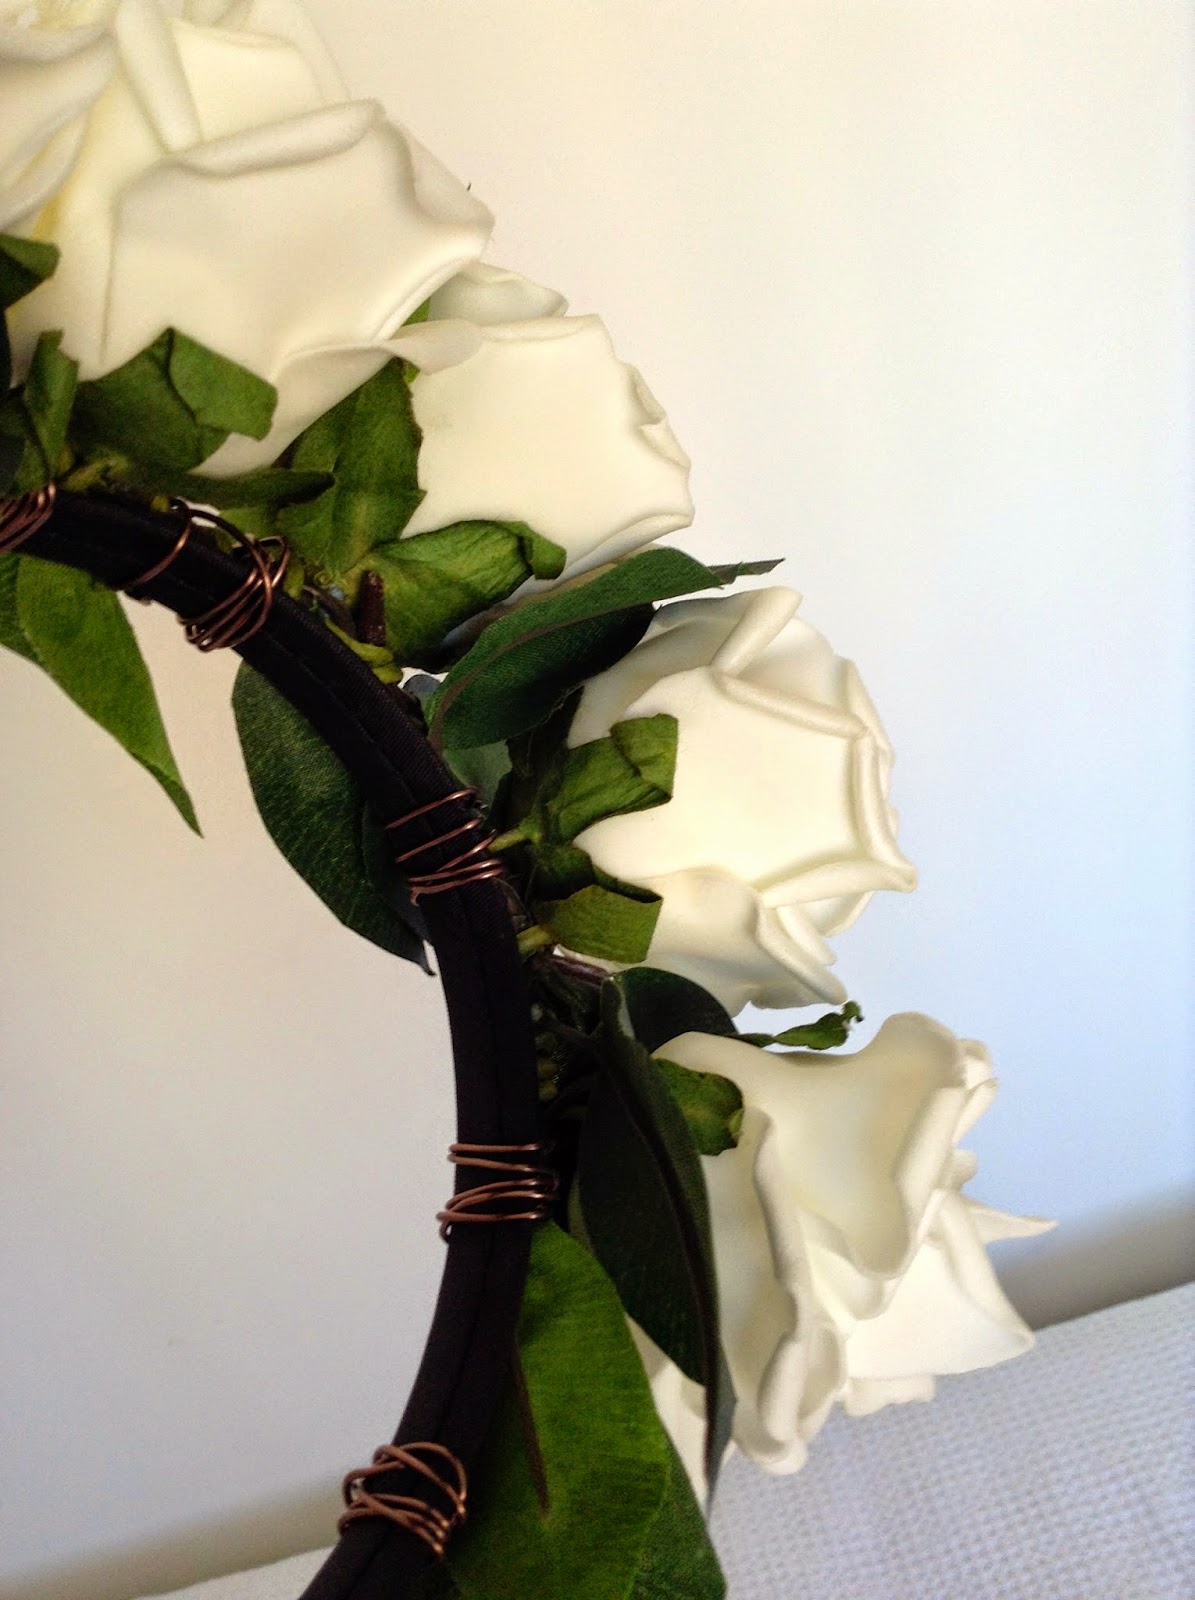
I'm going to use this flower headband that I made last year I was inspired by Millie Mackintosh's that she wore to Glastonbury 2013 so I went to a craft store and picked some ivory fake flowers, branches of fake greenery, craft wire and a simple black headband. I then placed the flowers around the centre of the headband and wrapped wire around each of the flower stems then I added the green leaves assorted through it and cut off any excess. It can take a little time to get the flowers adjusted to how you want them to be but it's so much more fun creating your own and picking the style and flowers to go on it than just buying one. 


Put the head band on your head and if it's really heavy secure it with grips either side so it will stay in place.


Next you'll need to have some hair grips ready for pinning the hair in place the more you have the more secure the hairstyle will be.


Start off by taking your largest front fringe section and sweeping it behind your head and over the headband.


Secure it in place with a hair grip.


Take a large section of your front hair and plait it behind and away from your face then wrap it around the back of your head and secure with a hair grip.


Repeat for the other side and secure drift away hair in place with a grip if you want a more sleek up-do but as this is for a festival I'm going to leave it a bit more looser and carefree.


Now take two large back sections of your hair and plait them separately then wrap them towards the other side of your head and grip in place do this for the other one too.


Now if you have a small section of centre back hair I looped this up the centre of the plaits and wrapped it in them then gripped in place.


If you're wanting a sleeker style hair spray any fly away hairs and use more grips for security but for a casual, bohemian look loosen the plaits and pull some front stands of hair out to fall beside the face.


I've finished the hairstyle off with some reflective sunglasses that I got from New Look you're all ready to party in the sun (or rain if you're in the UK) this hairstyle is really easy to do and it's always easy to distract attention from greasy hair to giant flowers on your head. 

What festival are you going to this year?

Twitter - @stephgreenwoodx
Instagram - @stephgreenwoodx

Please excuse my terrible tan lines I know they're horrendous...

Monday, 23 June 2014

Textured Beach Hair Tutorial


If you can't always get to the beach here's a quick tutorial on how to get those textured beach waves in 10 minutes! 


Start by heating your curling wand or straighteners I'm using the GHD V Gold Classic Straighteners.


Select pieces of your hair to loosely curl, it doesn't matter the direction you want it to be messy and textured.


Use a salt spray to achieve the beach waves texture I'm using the Toni&Guy Sea Salt Spray.


Spray this evenly around your hair focusing on mid-length to the ends.


Now scrunch your hair even twist parts and hold it so the product will hold the shape.


To get your hair smelling like you've spent all day on the beach use your favourite summer scent I'm using Victoria Secret's Coconut Passion which has notes of vanilla, coconut and musk. I've had lots of compliments when wearing this scent saying that it reminds people of pina colada's on holiday!


Spray this a couple of times in your hair and then run your fingers through your hair.


That's all you need to achieve beach hair so for the woman who doesn't have time to spend hours frolicking in the sand, these couple products are a must have in my beach bag I feel that summer beauty should be effortless and beach waves is a staple.

Instagram - @stephgreenwoodx
Twitter - @stephgreenwoodx

Monday, 9 June 2014

Lana Del Rey 'West Coast' Hair, Outfit and Make Up Tutorial!


Lana not only enchants me with her voice but her effortless Cali style and make up after watching and re-watching her music video for her song West Coast which you can see here I decided to do a hair, make up tutorial and outfit inspired by the video. 

First up is the make up!


To begin with prime your face I'm using the Smashbox Photo Finish Primer this will make your foundation apply better and help your make up last longer.


For foundation I'm using the YSL Touche Eclat Foundation as it's a light base for summer blend your foundation in from the centre of your face working outwards in circles I'm using the Real Techniques Expert Face Brush.


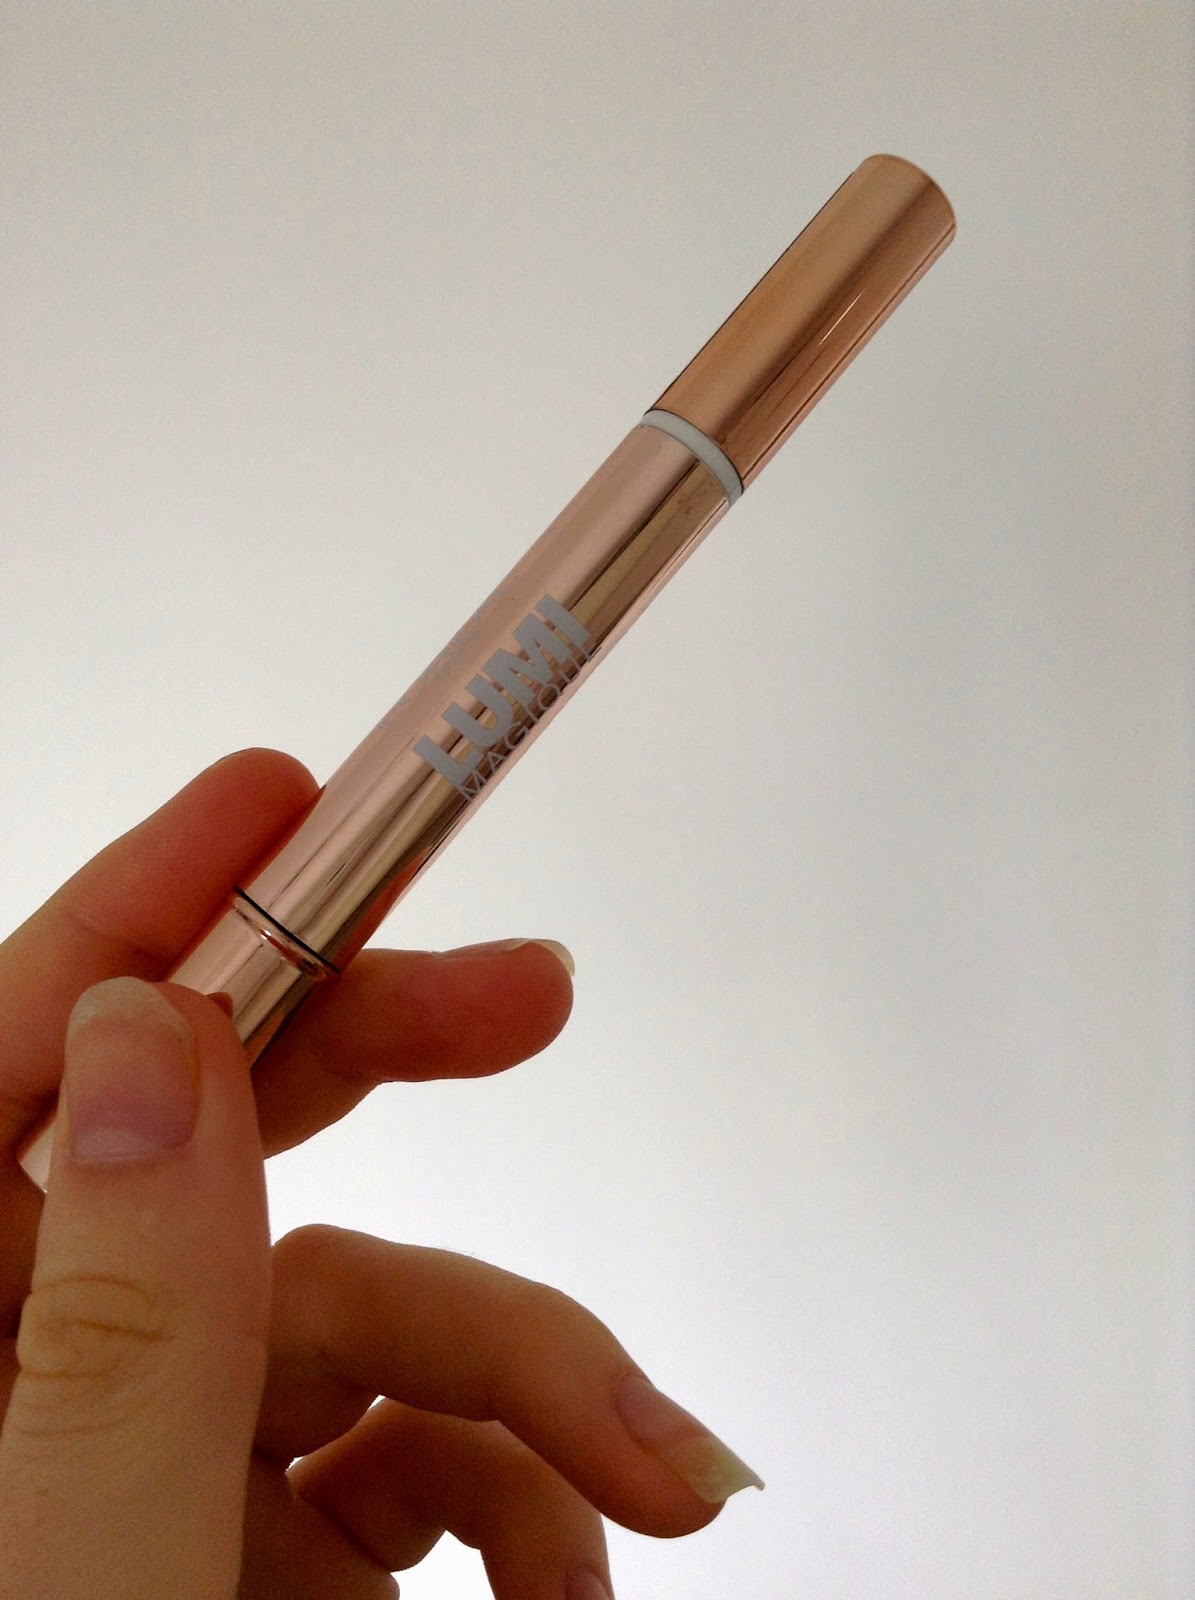
For concealer I'm using the Loreal Lumi Magique as it's weightless and smooth on the skin also it's light reflecting which can give you a lovely summer glow. 


Blend this in using the previous brush or a new one if you like remember to leave the under eyes as I always conceal my under eyes after all my eye make up is done to give a brighter look.


Lana has dark brown brows so I'm going to fill my brows in using a dark matte brown eyeshadow called 'Mystery' by MAC.


Lana has thick, long brows so use the image above as a guideline as to what your brow shape should be.


Set your brows using a brow gel I'm using Benefit's Gimme Brow.


I always prime my eyelids so that my eyeshadow will apply better and stay for longer, I'm using the Nars Eyeshadow Primer.


Select a neutral eyeshadow colour to use as a base and neutralise the eyes, I'm using MAC's 'Blanc Type'.


Sweep this all over your lid and on the brow bone with an eyeshadow brush.


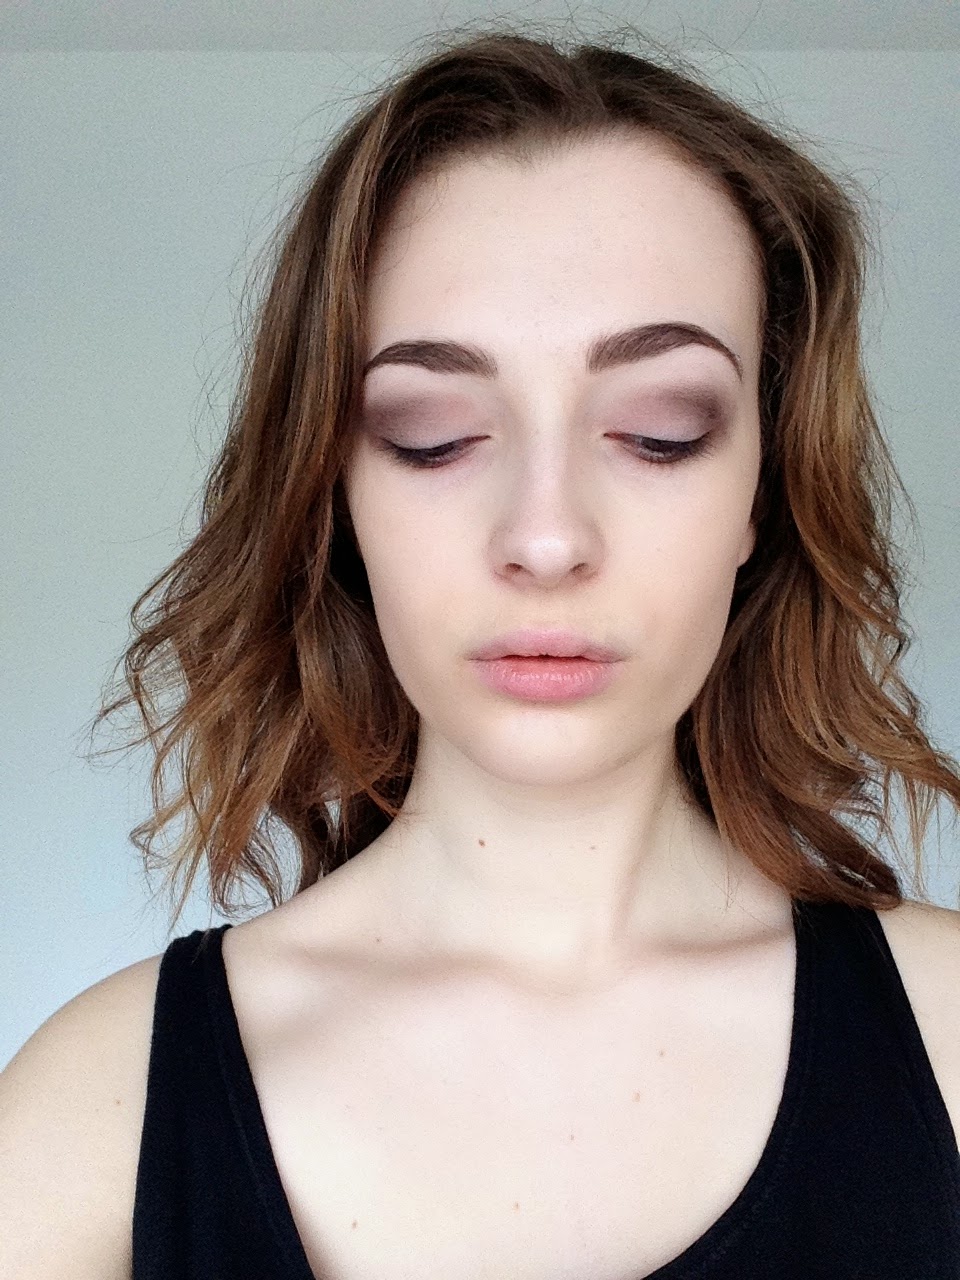
Lana has a brown tinted smokey eye in this video so start off with a dark brown the same that you used for the brows would be fine.


Blend this in using a shadow blending brush (I recommend MAC's 217 it's a wonder brush and definitely worth the investment) create a rounded smoked eye, blend the outer shadow out for a gradient effect. Bring the shadow down under your lower lash line the trick for this is to blend thoroughly with a clean blending brush so all the shadow colours seamlessly smoke onto the eyes.


Now build on this with a grey eyeshadow I'm using a colour called 'Darkside' from Urban Decay's Naked 3 palette. Blend this colour onto the crease, going right into the inner crease of the eyes as Lana has big eyes that want to be accented, keep bringing the shadow round and under the bottom lashes. 


Now blend a darker grey/almost black eyeshadow I'm using 'Blackheart' from the Naked 3 palette focus on blending this on the rounded edge and under the lower lashes.


Lana has heavily accented her lower lash line so take a sharp angle brush and using a black eyeshadow line the top lash line and bottom lash line, line the bottom lashes a lot more heavier than the top. Blend this in using a clean blending brush to give a smokey effect on the eyes.


To darken the eyes further I'd recommend using a black eyeliner to line the top waterline I'm using the Estee Lauder Pure Color Kajal Eyeliner as it's sensitive on the eyes and gives a dark kohl black colour payoff.


To make the eyes appear larger use a soft pink or white eyeliner on the bottom lash line this will give you Lana's wide eyes, I'm using Benefit's Eye Bright.


You can see that this helps define the eyes now curl your lashes in preparation for mascara, this will help your lashes hold a curl better.


For mascara I'm using the Kate Moss for Rimmel in 'Jet Black'.


In this look Lana has more focus on the smokey eye than the lashes so give a couple of flicks of mascara to your top and bottom lashes just to darken the eyes but not overpowering the smokey eye.


Now clean under your eyes as there may be some shadow that has fallen under your eyes and apply concealer then blend in I'm using Benefit's Erase Paste as that concealer will hide anything!


Set your make up with a setting powder I'm using MAC's Mineralize Skin Finish Natural as it gives good coverage and a healthy glow which is the make up look that Lana has in this video.


Lana isn't wearing any blusher in this video just bronzer so dust some bronzer on your cheekbones, tip of your chin, both sides of your forehead and down each side of your nose to slim it as Lana has a slim nose.


Lana has a nude lip in this video so I picked my Kate Moss for Rimmel Lipstick in Shade '03' as it makes the lips look more voluptuous. 


For the hair I loosely curled my hair using my GHD's but curlers would do then separated it with my fingers, sprayed some Toni and Guy Sea Salt Spray and scrunched it in my hair this will give you Lana's effortless beach waves, add hairspray for a lasting finish.


Leather Jacket - Kate Moss for Topshop
T-shirt - Cheap Monday
Skirt - H&M
Heels - Topshop

Trying to get that casual west coast style can actually mean a lot of effort but all you need to do is add a leather jacket over one of your most loved tees then pair it with denim shorts or mini skirt add heels for night or go barefoot to the beach. Your beach waves and smokey eyes will do all the talking just give your best Lana smouldering look.


I have such a good time creating this look I'd love to see your Lana looks tag me on Instagram @stephgreenwoodx and if there's anyone you'd like me to recreate tweet me @stephgreenwoodx