Showing posts with label make up tutorial. Show all posts

Thursday, 25 September 2014

HOW TO - From No Brow to High Brow!


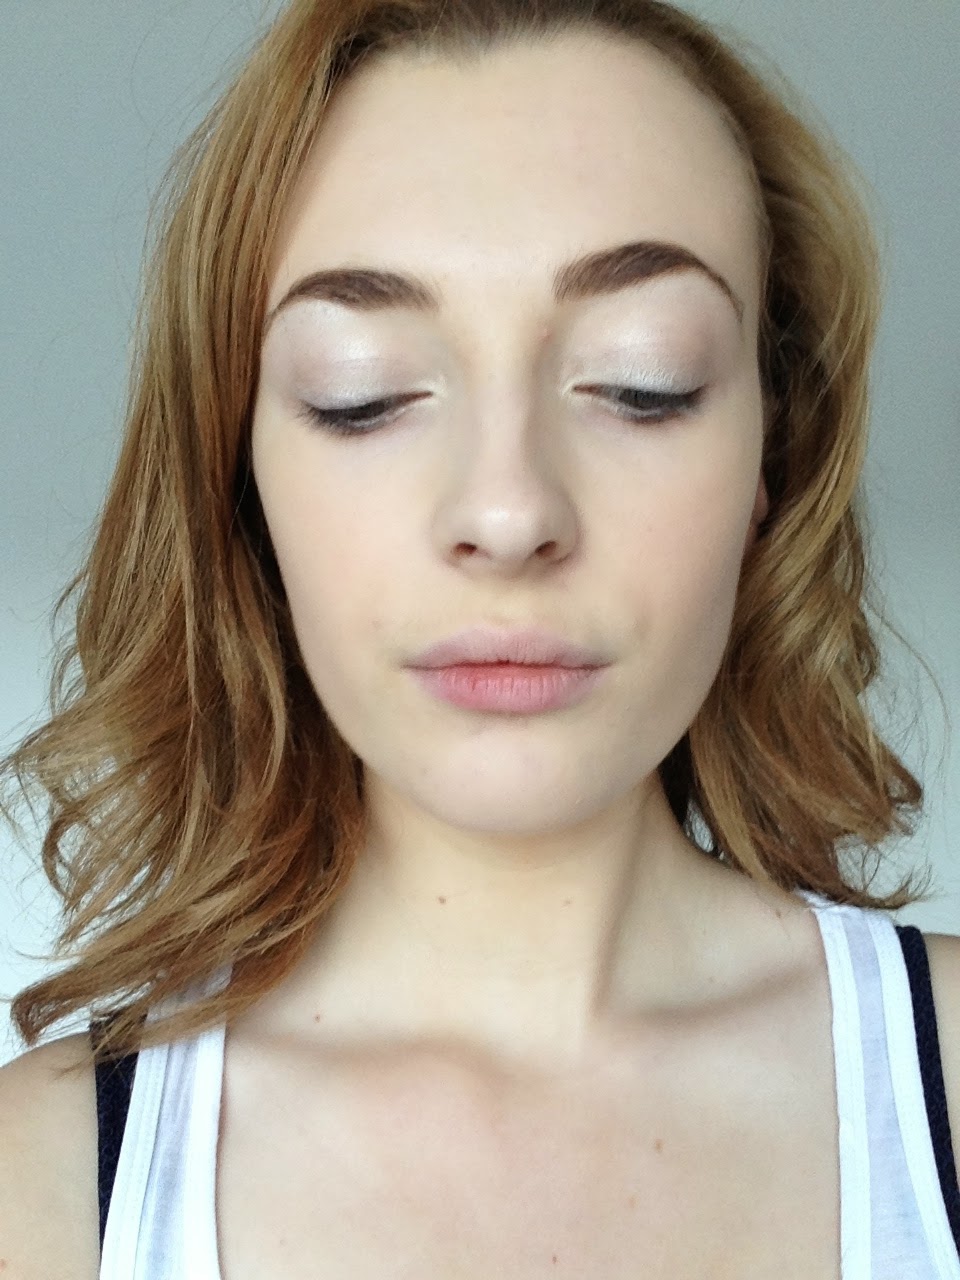
The first in my latest 'How To' posts is one of my most requested tutorials- brows! Having groomed brows adds a veil of sophistication and are a prominent main feature of the face in high fashion reflected by the present day poster girls such as Cara Delevingne, Barbara Palvin, Suki Waterhouse etc. Brows also help to frame your face and bring more attention to your eyes and create the illusion of bringing out your natural contours of your nose and cheekbones.


I first brush my brows in shape using this Topshop Brow Brush.


I find it easier using the bristle side to control them as I have thicker brows.


I use Benefit's Brow Zings in the shade 'Light' which is retailed at £24.50 but you can purchase the Sleek Brow Kit which is a dupe for this one for £8.49 if you're on a budget although the Benefit one is better quality and I've been using it for years as it lasts all day and night and the colour works well for me.


I recently purchased the MAC 266 brush (£16.50) and it has changed my brows for the better! This feathery light brush adds natural strokes to the brows and allows you complete control to create soft curves and sharp angles an investment which is worth it for every brow enthusiast!


I take light strokes in the wax with my brush (I only use the wax part for a more natural look as powder doesn't well with my brows).


I always start by creating the under curve line then fill the brow with diagonal strokes that follow the direction of the hairs.


I then add vertical soft strokes at the front of the brows, do these strokes lightly with not too much product on the brush to add a gradient effect which looks most natural.


I then create the end curve following my brow shape and filling in sparse areas, I like to create a long sharp finishing line at the end of the brow as it looks more polished and compliments the cheekbones.


Now repeat to the other brow and remember your brows don't need to be identical they are meant to be sisters not twins!


Now you wouldn't want all your hard work to go to waste and have your brows loose shape and go wild midday so set them in place with a clear brow gel I'm using the Natural Collection Clear Mascara (£1.99) to shape and hold them in place. Another trick is you can spray some hairspray on one of your fingers then dab it on your brows to really hold them in place this won't harm your brows as long as your use a good make up remover daily to remove the product after.


Now you've got brows to wow!
What brow products do you swear by?
Let me know in the comments!


Thursday, 4 September 2014

Radiant Daytime Make Up Tutorial

I've created this make up look for a transitional look from Summer into Fall with light neutral smokey eyes and bright pink undertones to highlight the face and create a dewy, radiant face that captures this time of year perfectly.


Don't worry if you don't have the exact products that I'm using just use something similar that you have already!


I've recently been suffering with lots of spots and redness so to combat that I moisturised my face first then used my new MAC Studio Sculpt Foundation which is a high coverage foundation and has SPF 15 great for this time of year when the sun is still out to protect your skin.


I squeeze a small amount onto my beauty blender from Real Techniques then blend onto my face and down my neck, I keep repeating this until I have full coverage of my face, I've found this foundation quite drying so I'd recommend a dewy moisturiser beforehand. 


As I have dark under eye circles I always need to use a high coverage concealer like this Collection Lasting Perfection one but you might prefer a lighter concealer when using a high coverage foundation.


I use my Real Techniques Expert Face brush to blend my concealer.


This has provided me with enough coverage to hide any redness and blemishes but still giving a natural look.


I always use the wax part of Benefits Brow Zings to fill in my brows as I like the colours and how the formula holds my brows in place all day.


I've been growing my brows back out as I guiltily over plucked so I fill them in with a sharp angled brush in short strokes.


I've been setting my brows with a clear brow gel, like the one from Natural Collection.


If I want my eye make up to last all day and night I prime my eye lids with the Nars eyeshadow primer, I'm choosing MAC's 'Nylon' as a highlight for the inner corners of the eyes, on the base and the brow bone as the yellow tones brighten the eyes.


I use a blending shadow brush (e.g. MAC 217) for this then brush it first onto the inner corners then build onto the base of the eye and highlight my brow bone.


Using 'Liar' from Urban Decays Naked 3 palette I blended it in the corners and crease, blending it out to smoke into the 'Nylon' shade I applied just before, this bronze shadow adds some colour and radiance to the face.


Using the shade 'Factory' from the image pictured before I blended this into the corner and slightly into the crease to give some depth to the eyes. 


I used the shade 'Blackheart' pictured above with a sharp angled brush to line the top and bottom eyes and to create a cat eye flick then I blended it out with a shadow brush.


I curled my lashes then applied my Maybelline Falsies mascara on the top and bottom lashes, using a black mascara intensifies the darker eye shadow and highlights the eye colour more.


I then applied a luminous highlighter pen and blended with a flat sided foundation brush to brighten areas of the face.


I used my MAC Mineralise Skin Finish Powder to set the make up with a large powder brush, this powder gives a golden glowy look to the skin.


I then contoured the cheekbones with my Nars Laguna Bronzer which has delicate flecks of shimmer in it to add a natural highlight to the face.


I then added some pink blush to my cheeks using a stippling brush and a shimmery peach nude lipstick to complete the look.


This is a really feminine look that's great for work, during the day and switch the peach lipstick to a raspberry red for night!
The glowing shimmers in these products give you a dewy summer glow, the pink tones lift the face and the smokey cat eye defines your eyes, pretty easy and quick to do this has been my go-to make up look for August.

Let me know any make up tricks you'd like the know how on in the comments!

Monday, 4 August 2014

Alexa Chung Make Up Tutorial

Do it like Chung!


I'm a huge admirer of Alexa Chung she's the epitome of cool and I've been wearing a cat eye since I was 13 so I figured I'd recreate Alexa's classic eyeliner and pillar box red lips that signify her staple make up look.


The image on the left is from Alexa being papped walking to a ballet class so of course I tried to recreate it although I don't think I'll ever look as good as Chung!


Start off with a light, natural base I'm using Laura Mercier's Tinted Moisturiser 


I blend this all over my face with the Real Techniques Miracle Complexion Sponge as it works well with the moisturiser formula.


As I have used a light base I'm using a concealer that has good coverage such as this Collection Lasting Perfection Concealer.


I put this under my eyes, around my nose and on blemishes and spot that need to be covered then blend it in with the Real Techniques Expert Face Brush.


All blended!


Alexa has natural brows they are groomed in place but aren't heavily accentuated so I'm using MAC's 'Omega' eye shadow as it's a light matte taupe.


I used a sharp angled brush to fill any sparse areas in.


I set my brows using the Benefit Gimme Brow by combing the brush through my brows.


Using the Nars Eyeshadow Primer I blended a small amount on my eyelids to hold the eyeshadow for longer.


Using MAC's 'Blanc Type' (the shadow in the top left image) I blended it all over the lid and up to the brow bone this is highly pigmented and great for neutralising the eyes.


Using MAC's 'Omega' shadow I blended it in the corners and crease of my eyes as Alexa's eyelids are defined but not too heavily so a light taupe colour is perfect for this.


I then used some of my Nars Laguna Bronzer in the corners to add some warmth to the eyes as if Alexa ever choses to wear eyeshadow she usually goes for warm tones.


Alexa's signature is her classic cat eye to get this I use Loreal's Super Liner in Perfect Slim and start from 1/3 out of the inner corner of the eyes then gradually build up the thickness towards the outer corner and create a subtle cat eye flick at the end.


Trust me it just takes lots of practice to get your cat eye right, if you're out of practice keep some cotton buds and make up remover water like Bioderma close.


I'm using Rimmels Kate Moss Mascara, Alexa accents her top and bottom lashes.


To brighten the face I'm using Loreals Lumi Magique concealer for under the eyes, chin and cupids bow then blending with my fingers. 


I dusted some of MAC's Mineralise Skin Finish Natural all over my face as this powder gives a golden glow to the face making it appear more youthful and bright.


To contour I'm using my Nars Laguna Bronzer, contouring my cheekbones heavily.


I'm using my new Sleek Pink Lemonade blush I'm using the middle blush as it's cream so it will give a more natural finish to it. I dabbed some of this on my finger then blended it on my cheeks to add a subtle hint of colour nothing too heavy or done up.


Alexa herself has said that her favourite red lipstick is MAC's Lady Danger as it's 'the perfect pillar box red' so I'm using this to create the classic Alexa look.


A silly face to end on of course!

I hope you liked my Alexa Chung Tutorial this is a really quick and easy make up look to do and i've been loving wearing MAC's Lady Danger this past week.

Which make up tutorial would you like me to create next?
Let me know in the comments!

Instagram - @stephgreenwoodx
Twitter - @stephgreenwoodx