
I'm a great admirer of Keira Knightley both in her talent and style I especially love her make up and wardrobe choices outside her work so I decided to recreate the make up look from when she attended the premiere for her movie 'A Dangerous Method' at the 2011 Toronto International Film Festival which I also love the movie. Keira's infamous rounded neutral smokey eye and peach cheeks are a charming combination that can be worn for lots of different occasions from parties to lunch with friends or even a red carpet event if you can swing an invite!
If you don't have all the make up items I'm using for this tutorial don't worry just find something in your collection that's similar now on to the tutorial...

First I removed all make up from my face and moisturised it then I applied my Smashbox Photo Finish Foundation Primer massaging it into my face, primers help your make up last longer and provide a good base for your foundation.


Next I put some of my YSL Touche Eclat Foundation on my hand and used my Real Techniques Expert Face Brush to blend it in in circles starting from the centre of my face moving outwards.


I then used my Collection Lasting Perfection Concealer (which is amazing) and dabbed it on any blemishes and around my nose then blended it in with the expert face brush. I always conceal under the eyes after I've finished my eye makeup as when applying eyeshadow I've found it can sometimes go onto the under eyes.


I primed my eyelids using my favourite Nars Eyeshadow Primer by dabbing lightly the stick onto my eyelids then using my finger to gently rub it in, the primer is white but it dries clear this will make your eyeshadow last all day and night.


Keira's brows are very thick most of the way across I'm lucky to have thick brows already but if you don't gently build them up in small strokes with a sharp angled brush like the one I'm using you can get one from Topshop for £4 found here. To fill in my brows I'm going to use MAC's Mystery eyeshadow which is slightly darker than what I'd normally use but Keira has darker brows. I filled them in with soft strokes upwards building them to be slightly thicker.


To set them I used the Benefit Gimme Brow by combing them through my brows this gel will also fill in any sparse areas that you have, brow gels keep your hairs in place although spray hairspray on your finger then dab it on your brows if you don't have any gel.


I used a shimmery brown cream eyeshadow base blending it all over the lid this one is No Pressure by Benefit this cream will hold the eyeshadow powder better.

Next I brushed Benefit's Thanks a Latte eyeshadow all over my lid to add extra shimmer and this is a similar colour to the cream base I just put on which is from their World Famous Neutrals eyeshadow kit.

I used Urban Decay's 'Factory' (fourth from the right) from their Naked 3 palette to blend into the corners and crease I also round the edges of the eye and brought some shadow under the eye to where the lashes stopped. Just use a darker brown eyeshadow to the one you have applied earlier this will add more dimension to the eyes and help create that hollowed eye look.

As you can see above I've created rounded ovals on the eyelids but the bronze colours help keep the eyes looking warm.


In this look Keira's eyes are significantly darker so let's keep building on the eyes by using a darker brown eyeshadow to blend into the crease, corner and under the eyes I'm using Benefits Quick, Look Busy. Remember to round the corners and join to the under eyes the more blending the darker the eyeshadow will be.


I lined under and on top of the eyes using the same dark brown eyeshadow with a sharp angled eyeshadow brush then blending it in with a rounded shadow brush (the one you've been using for the eyeshadow will do).

Keira's eyes are intensely dark in this photo so I added a black eyeshadow I'm using 'Blackheart' from Urban Decays Naked 3 palette pick up small amounts on your brush as it's better to work with less then add more than having too much on your eyes. Blend this in the corners of your eyes and under your eyes rounding them off.

I then used a clean rounded eyeshadow brush to blend all the eyeshadows in so there was a gradient and this helps to curve out your rounded eye shape more.

This is where you should be up to, don't worry about the rest of the face right now we're just concentrating on the eyes as these are the main feature of the look, wipe any eyeshadow that might have fallen on your under eyes away.


Keira's eyes are lined with black eyeliner in the water line so I'm using this Estee Lauder Pure Colour Black Eyeliner which goes on the waterline really smoothly and doesn't hurt my eyes as it's a really soft formula. This will make your eyes stand out so much more!

Now curl the lashes and apply mascara generously as this is a red carpet look more is more! I'm using the Kate Moss for Rimmel mascara in Jet Black add mascara to the bottom lashes as well, Keira is wearing false lashes in this look so you can always apply them if you want they'll make your eyes stand out much more.

I then added MAC's 'Vanilla' eyeshadow in the inner corners of my eyes as the centre of Keiras eyes are bright you can use a small eyeshadow brush for this or just use your ring finger to apply.

Now that the eye makeup is finally finished (I promise it's pretty quick after this) apply concealer under your eyes and blend it in using a brush this will brighten your eyes.

Ta Dah! After this point the rest is just smooth sailing...


Brush setting powder all over your face to set your make up I'm using MAC's Mineralize Skin Finish Natural Powder in Light Plus personally I find powder makes all the different hence why women always carry it in their bag!


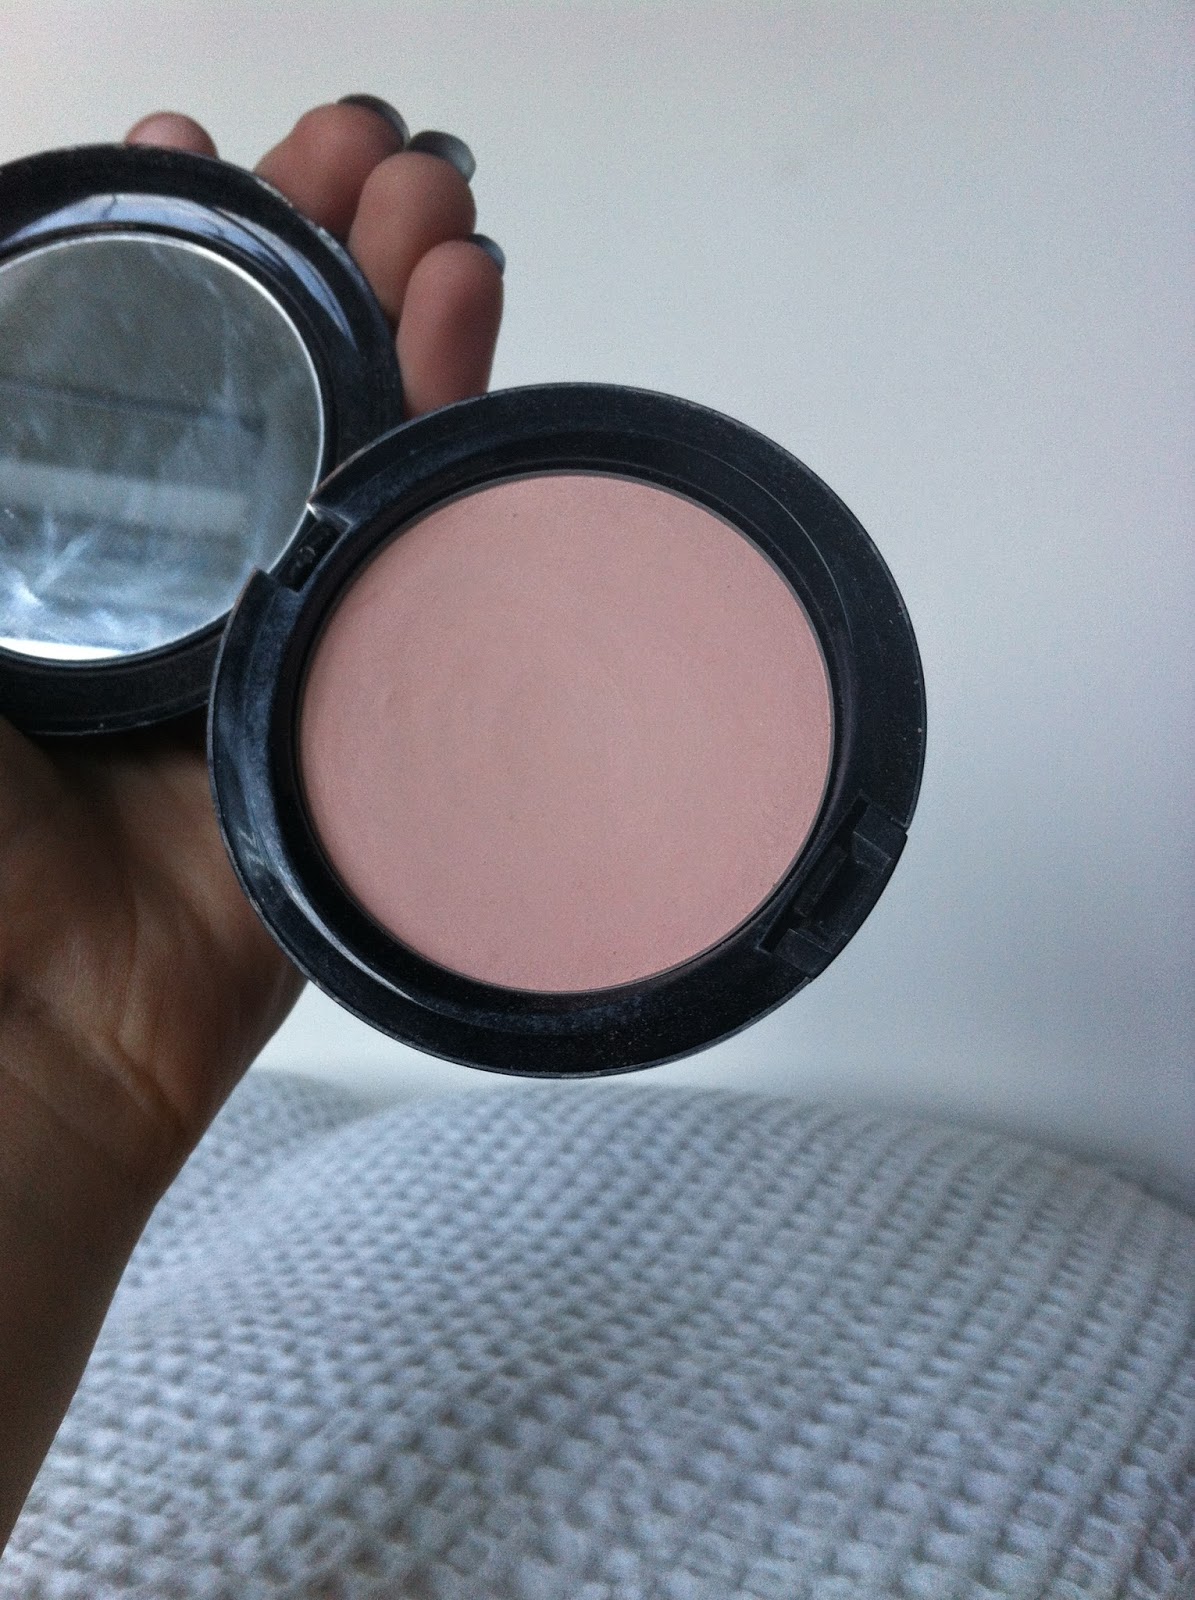
Now to get Keira's peachy glow use a coral blush and apply this with a stippling or blush brush in circles on half of your cheeks bringing it upwards to the edge of the eyes then blending outwards of the face. I'm using Benefit's Coralista which looks like a perfect match to Keira's blush!


To get Keira's face shape you just need to contour her face shape on yours I'm using Nars Laguna Bronzer use a rounded blush brush and take small amounts of bronzer/powder on your brush. Keira has high cheeks so contour in a line straight under the cheeks then follow diagonally down towards your chin now go back blend in the circles of the hollows of your cheekbones to make them standout. I then contoured the nose shape with my finger blending it slimmer and brushed some bronzer on the top on the forehead and chin as Keira has a warm glow to her face in this picture.

I then dusted some highlighter (MAC's Forever Marilyn) on the bridge of my nose, cupids bow, under eyes and centre forehead this just brightens up the look and looks amazing when the light hits you!

Keira's lips are a simple nude pink so to finish off the look I am using Tanya Burr's 'Chic' as it's a 'your lips but better' colour and high pigmentation and this colour really draws attention to the blushing cheeks!


The finished look you're now ready for the red carpet!
I love this make up look and I'm definitely going to wear this for a night out in summer I love the peach cheeks and warm eyes.
I hope you found this helpful and somewhat similar to Keira's look I'm going to start doing a lot more tutorials on here if there's anyone you'd like me to recreate tweet me @stephgreenwoodx and if you recreate this look tag me on Instagram @stephgreenwoodx
No comments:
Post a Comment